
Aquariums are more than just homes for your aquatic pets – they’re living works of art. The ability to design and print custom aquarium accessories yourself makes it possible to unleash your creativity, enhance your tank’s functionality and craft a personalized environment for your fish, shrimp or even reptiles (in case of a terrarium owner). Whether you’re a 3D printing enthusiast or an aquarium hobbyist, this 3D printing for beginners guide will help you start your journey & provide useful 3d printing tips.
Introduction: Why Create Your Own Accessories?
Have you ever wished you could add a unique cave, hideout or decor to your aquarium but couldn’t find exactly what you envisioned? That’s where 3D printing comes in! With a 3D printer and some imagination, you can create custom designs that fit your tank’s theme and your pets’ needs. Not only is this process cost-effective, but it also gives you the satisfaction of creating something truly unique. Let’s dive into the steps & 3D printing tips to bring your ideas to life!
3D Printing for Beginners: Getting Started
What is 3D Printing and How Does It Work?
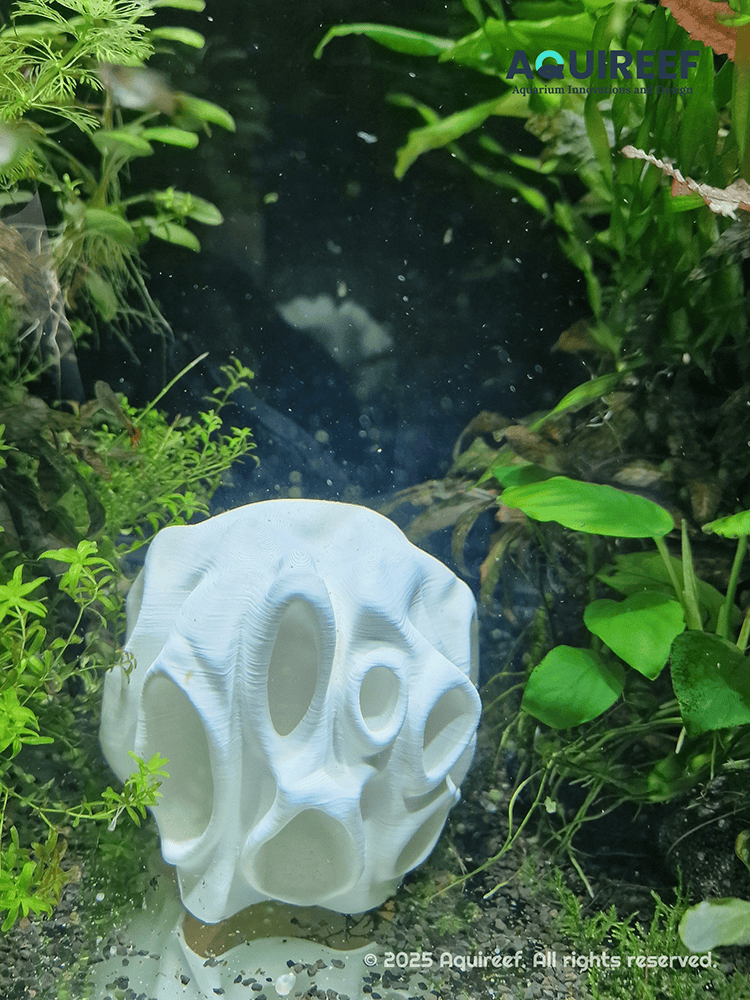
3D printing has revolutionized DIY aquarium decor, making it easier than ever to create custom accessories for tanks of all sizes. Whether you want to print a fish cave, a shrimp hideout or decorative coral structures – 3D Printing for Beginners has never been easier and affordable than now!
What to Know Before I Begin?
Before diving into the details, let’s take a moment to understand what makes 3D printing such an exciting and valuable tool for aquarium hobbyists. By using this technology, you gain full control over the design, material selection and customization of your aquarium accessories. With the right approach, you can create both aesthetic and functional additions to your tank.
Before starting, it’s essential to understand how 3D printing works. In simple terms, a 3D printer builds objects layer by layer using materials like PLA or PETG. Here’s what you’ll need:
- A 3D Printer: The Bambu Lab P1S and Prusa Mini+ are excellent beginner-friendly options that work “out of the box” with minimal tuning required.
- Filament: For aquariums, use pure PLA or PETG (Amazon affiliate links) without additives like HS or CF. PETG is the preferred choice for durability and compatibility with both freshwater and saltwater tanks.
- Design Software: Free tools like Tinkercad are great for beginners, while Autodesk Fusion 360 (personal use version)is another possibility, though its free version has limitations. If you opt for the paid license, you get full functionality, similar to Tinkercad.
Note: If you want to dive more into the 3D Printers topic – check out my Best 3D Printers for Beginners in 2025 Guide as well as High Volume 3D Printing — Always Best for Aquarium & Terrarium 3D Print Projects? Or….
From Idea to Design: Planning Your Custom Aquarium Accessories
Planning is the Key!
Planning is key when creating custom aquarium decor with a 3D printer. Whether you’re designing a betta fish cave, a moss bridge for shrimp, or a rock formation for aquascaping, it’s essential to consider both aesthetics and functionality.
Now, when you understand the basics of 3D printing, it’s time to plan your first custom aquarium accessory. This stage is crucial, as it ensures that your design meets both functional and aesthetic requirements.
Designing begins with brainstorming. Ask yourself these questions:
- What type of accessory do you want to create? (e.g., caves, plant holders, or tunnels);
- What functionality should it serve? (e.g., shelter, decor, or utility);
- How will it fit into your aquarium’s aesthetic?
Important Considerations:
- Pet Safety First: The accessory should be large enough for your fish or shrimp to navigate safely.
- Measure the largest pet in your tank and add 1-1.5 cm to its height and width to determine the minimum safe hole/entrance size.
- Small fish (e.g., guppies) should have at least 5 cm openings to prevent entrapment.
- Simple Shapes for Starters: Begin with basic designs like cubes or cylinders.
- Measure Your Tank: Ensure your accessory fits within your setup.
- Avoid Sharp Edges: Smooth designs help prevent injuries.
Bringing Your Vision to Life: Designing Tips for Beginners
What Are the Best Free 3D Design Tools for Beginners?
With a well-thought-out plan in place, the next step is turning your ideas into a 3D model. This process might seem intimidating at first, but with the right tools and approach, even beginners can create impressive designs.
Now that you’ve planned your accessory, it’s time to create a digital design. Follow these steps:
- Choose Beginner-Friendly Software: My personal advice would be to start with Tinkercad or Autodesk Fusion 360 (you can get a paid license for all features, but limited free is available) if you are a beginner.
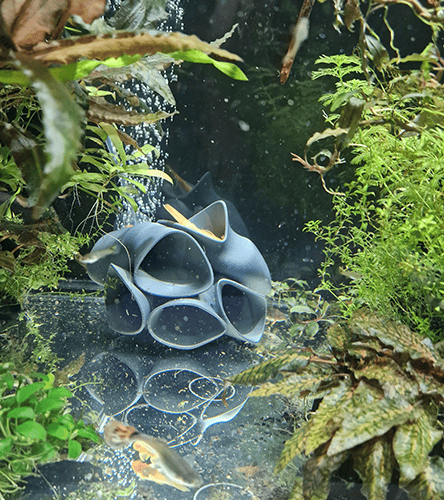
- Start Small: A simple fish shelter or shrimp hideout cave with a single entrance is a great beginner project, as it is easy to design and print while being suitable for both species.
- Test Your Design: Use slicing software like Cura or Orca to preview print settings and make adjustments.
- Anticipate Print Challenges: Consider overhangs, bridging and weak points to improve print success.
Pro Tip: Add small ventilation holes to enclosed spaces to ensure proper water flow and oxygenation.
Making It Real: Printing Your Aquarium Accessories
What Are the Best Printing Settings for PLA and PETG?
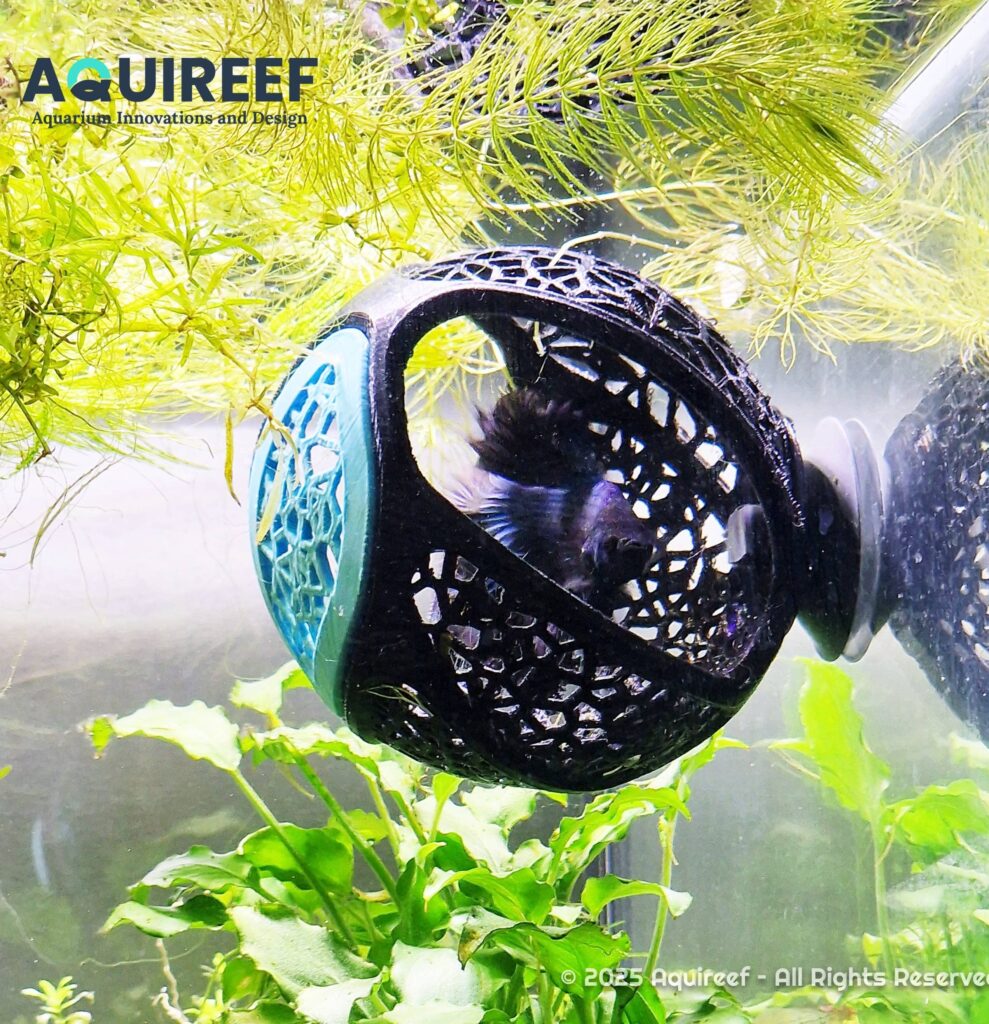
When printing 3D printed fish tank accessories, selecting the right settings ensures durability and a smooth finish. Whether you’re working on a DIY filter guard, a betta leaf hammock or a feeding ring – adjusting print parameters can improve longevity in an aquatic environment. The parameters should be set according to filament type and supplier’s recommendations.
Not sure what filament type to choose? Check out my guide on 3D Printing Materials and close this question for yourself once and for all!
Once your design is finalized, it’s time to bring it to life with your 3D printer. This stage is all about ensuring a smooth printing process, optimizing print quality, and avoiding common pitfalls.
With your design ready, it’s time to print!
Here’s a streamlined 3D Printing for Beginners Guide to ensure success:
- Prepare Your Printer: Clean the nozzle, level the bed, and inspect the build plate.
- Set Optimal Printing Parameters:
- Bed Temperature: 50-60°C for PLA, 70-80°C for PETG.
- Nozzle Temperature: 190-210°C for PLA, 230-250°C for PETG.
- Layer Height: 0.2mm for a balance of quality and speed.
- Infill Density: 20-40% for strength without excessive material use.
- Supports: Use them for overhangs exceeding 45 degrees.
- Monitor Your Print: Check periodically for warping or filament jams.
- Use Quality Materials: Stick to clean, additive-free PLA or PETG to avoid contamination.
- Troubleshoot Smartly:
- For adhesion issues, clean the bed with isopropyl alcohol or use a glue stick.
- Adjust the Z-offset for better first-layer contact.
Pro Tips:
- Use a heated bed for PETG prints.
- Keep a log of successful settings for future projects.
- Regularly calibrate your printer for consistent quality.
Ensuring Longevity and Safety: Post-Processing Your Accessories
How Can You Make 3D Printed Accessories Safe for Aquariums?
After successfully printing your design, it’s essential to make sure it is safe for your aquatic pets. Proper post-processing enhances durability and ensures that your accessories do not pose any harm to the tank’s inhabitants.
Post-processing ensures your accessories are safe for aquatic life. Here’s what to do:
- Smooth Edges: Sand rough surfaces with fine-grit sandpaper to prevent harm to your pets.
- Material Choice Matters: PLA may become brittle over time underwater, whereas PETG is more resistant and is recommended when possible.
- Long-Term Testing: While PLA and PETG generally hold up well for 2+ years, monitor for degradation over time.
Inspiration and Ideas for Aquarium Accessories
Looking for inspiration? Here are some great DIY aquarium accessories ideas to get you started:
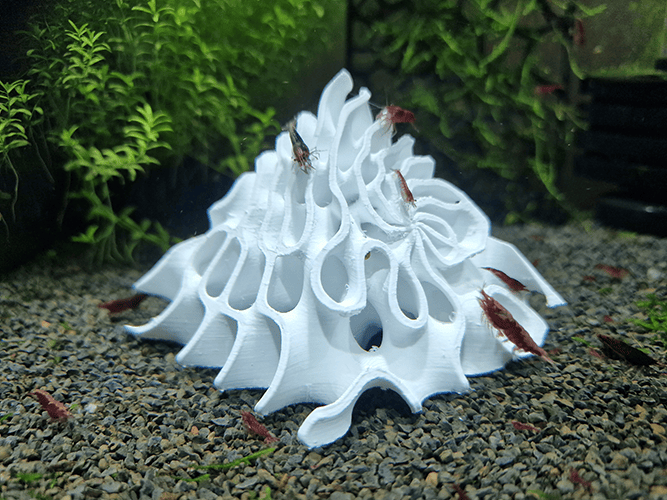
- Shrimp Hides: Modular caves for shrimp to explore and breed.
- Fish Mazes: Interactive playgrounds for your fish.
- Plant Holders: Customizable holders for aquatic plants to beautify your tank.
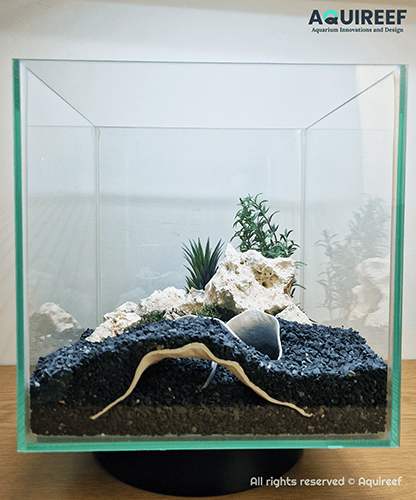
- Rock Formations: Realistic printed rock structures for aquascaping.
- Cichlid Caves: Safe breeding and hiding spots for territorial fish.
For more designs, visit my shop, where new 3D printed aquarium decor STL files are added weekly!
Start Your Custom Aquarium Journey Today!
Designing and printing custom aquarium accessories is a rewarding way to personalize your tank and enhance your pets’ environment. With some creativity and patience, you can bring your ideas to life and make your aquarium truly one-of-a-kind.
These steps are just the basic start! Stay tuned for future posts covering 3d printing tips, advanced techniques and troubleshooting insights.
Want to skip the design part and get started with ready to print designs? Or maybe looking for a idea for your custom desing? Visit the Aquireef store for inspiration and STL files, dive into the world of 3D printing and start transforming your aquarium today!
💖 Liked the article? Check out my latest posts for more quality content on 3D Printing!
- 3D Printing Layer Adhesion: Preventing Prints from Breaking Between Layers
- Is 3D Printing Food Safe? Here’s the Real Truth
- 3D Printed Reptile Hides Exposed: Crucial for Welfare or Just Terrarium Decor Hype?
- 3D Print Bed Adhesion — What Works Best To Avoid Failed 3D Print?
- Are Aquarium Caves Really Critical for Fish and Shrimp Health? Does 3D Print Decor make a Difference for your Aquatic Pets?