
Want to add bright, natural lighting to your aquarium or terrarium without spending a fortune? With a simple 3D printed LED holder you can create a custom lighting setup for just under 10$! This easy DIY 3D Print Tutorial is perfect for hobbyists looking for an affordable and stylish solution for their Aquarium or Terrarium setups up to 50 liters (easy scalable by adding more units). Let’s explore how to make your own 3D printed fish tank LED light holder step by step.
Aquarium & Terrarium LED light. Why choose 6300K?
A 6300K LED light closely mimics natural daylight, making it an ideal choice for both fish tanks and terrariums. It enhances colors, creates a balanced glow and promotes healthy plant growth without the harsh yellow or blue tones of lower-quality bulbs.
Whether you’re illuminating colorful fish, live plants or a lush terrarium setup this spectrum will provide optimal visibility and vibrancy.
Materials You’ll Need
Before getting started, gather these budget-friendly materials:
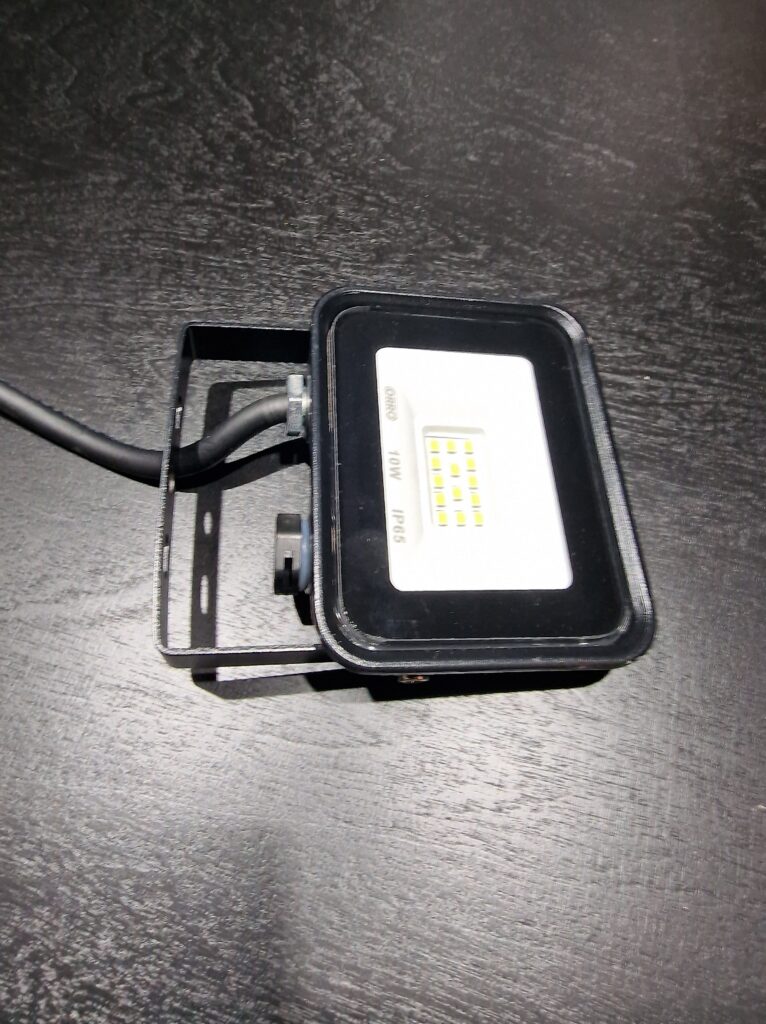
✔ 6300K LED light – To use it in your setup. I recommend a standard energy efficient LED with its original power source. Can be bought online for under 5$!
✔ 3D Printing Filament – My holder design requires around 60 g of filament (~1.5 $).
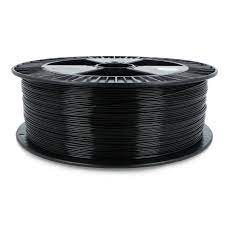
TIP: Choose PETG for Durability. PETG filament ensures water resistance and strength, making it ideal for aquarium setups. Check out my post 3D Printing Materials: Safe and Unsafe Choices for Aquariums and Terrariums for more pros and cons, as well as other filament insights.
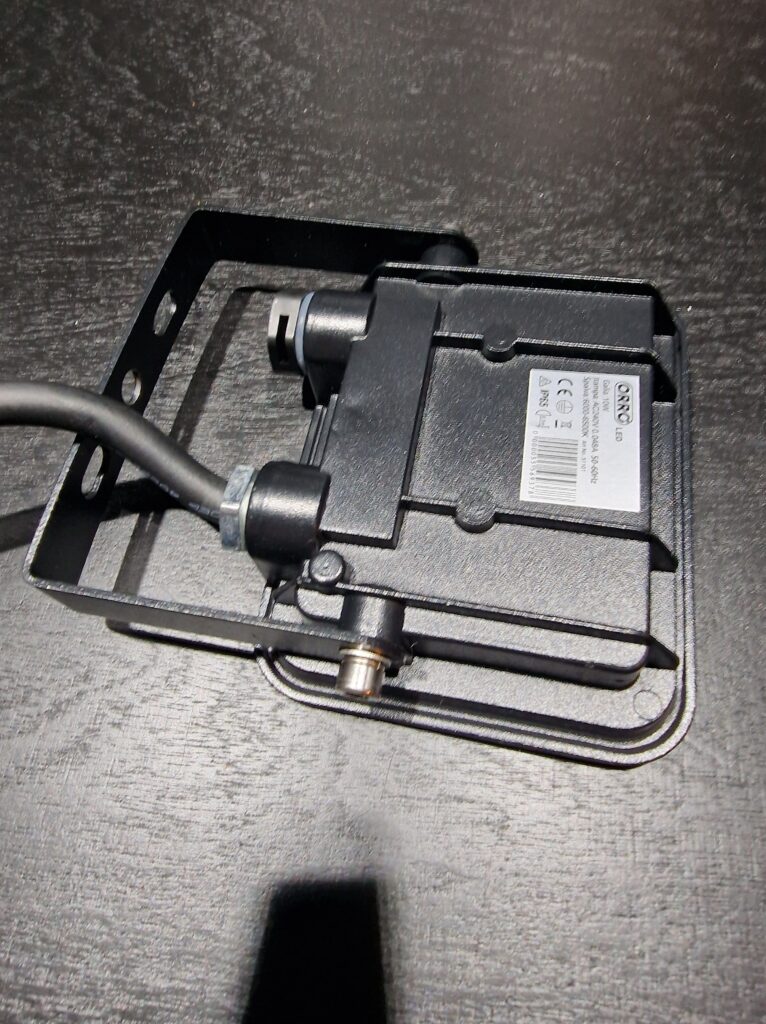
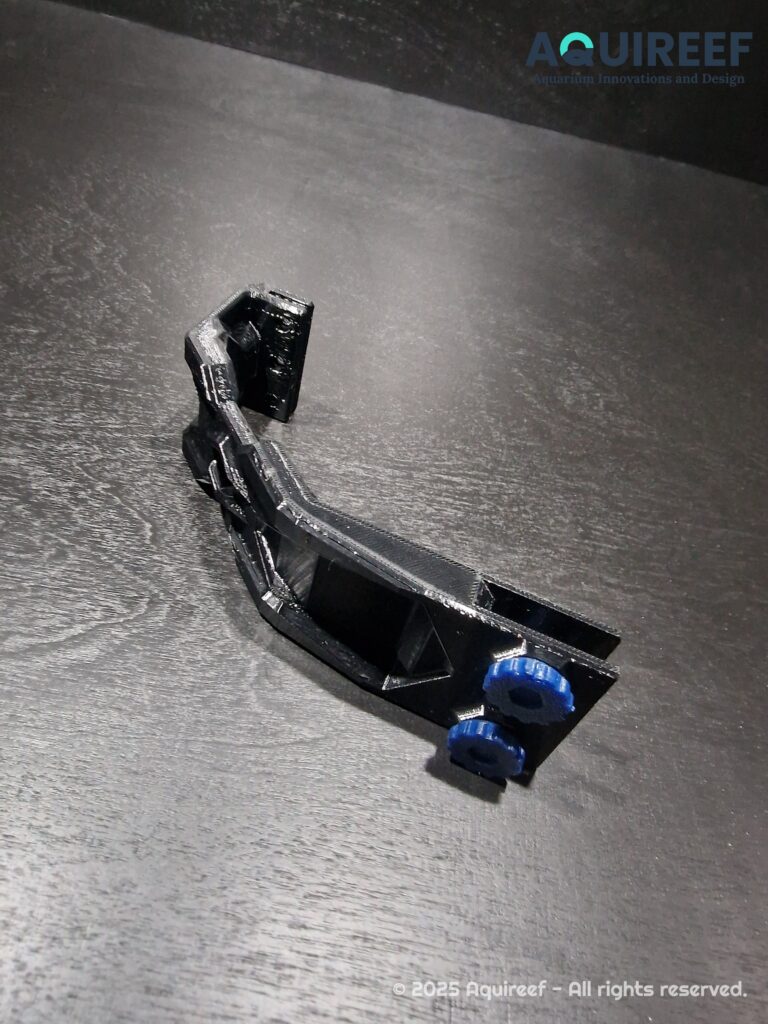
✔ 3D LED Light Holder Design for Printing – Design your own or Download the ready to print Aquarium & Terrarium LED Light Holder STL file from my store. This will be the holder for the LED light (if you will make the design by yourself, I recommend making it adjustable).
✔ Wiring – Needed to connect the LED light to its power source, ensuring safe and stable voltage.
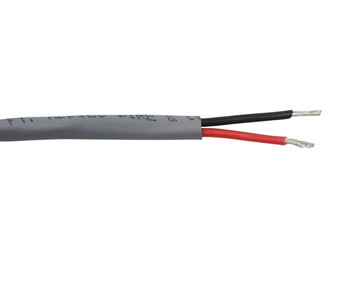
✔ Basic tools – Soldering iron (if needed), zip ties for clean cable management and a pair of hands, that didn’t graduate from the school of chaos 😁

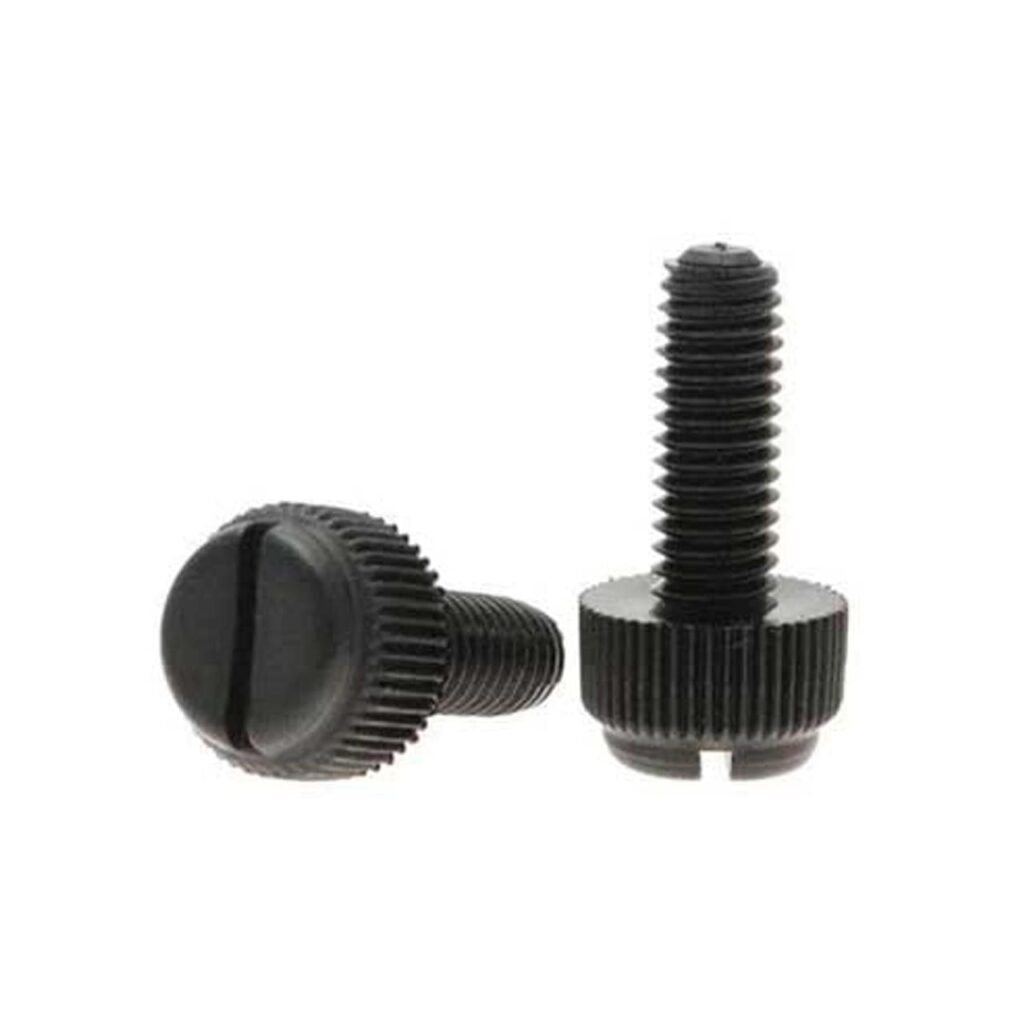
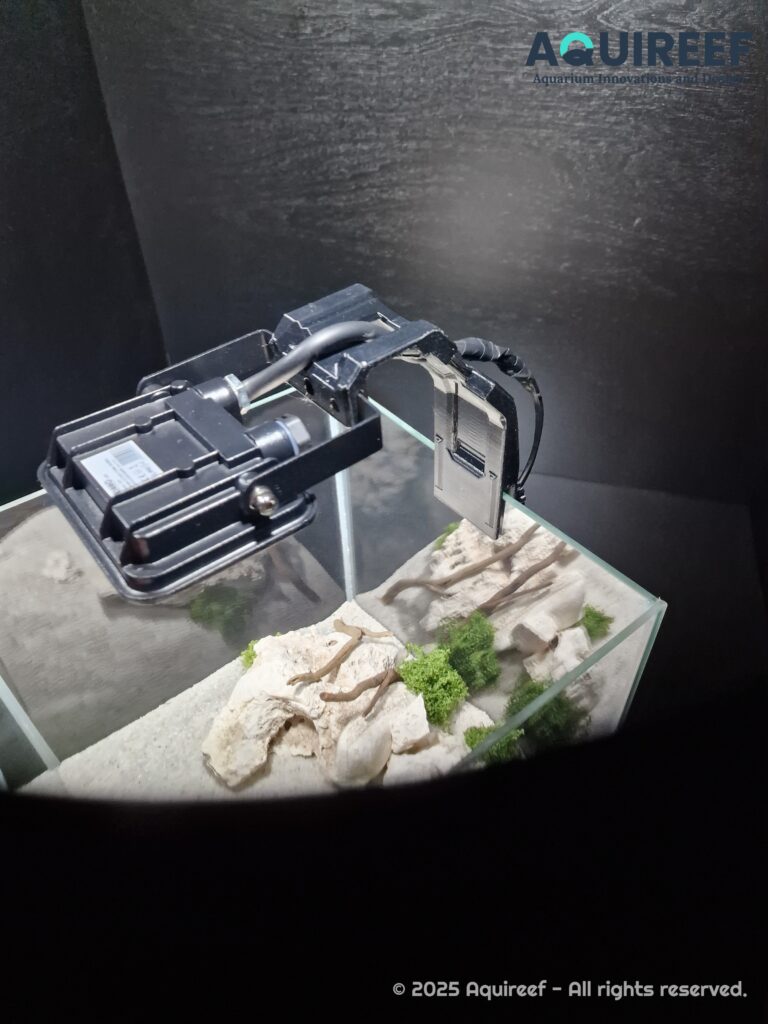
✔ Mounting screws – To secure the holder onto aquarium glass or terrarium walls (if you use my LED light holder design for your 3D print, it can be attached using two screws, making it secure and adjustable for aquarium glass thicknesses ranging from 4mm to 8mm).
3D Print LED Light Holder – the Crafting Process
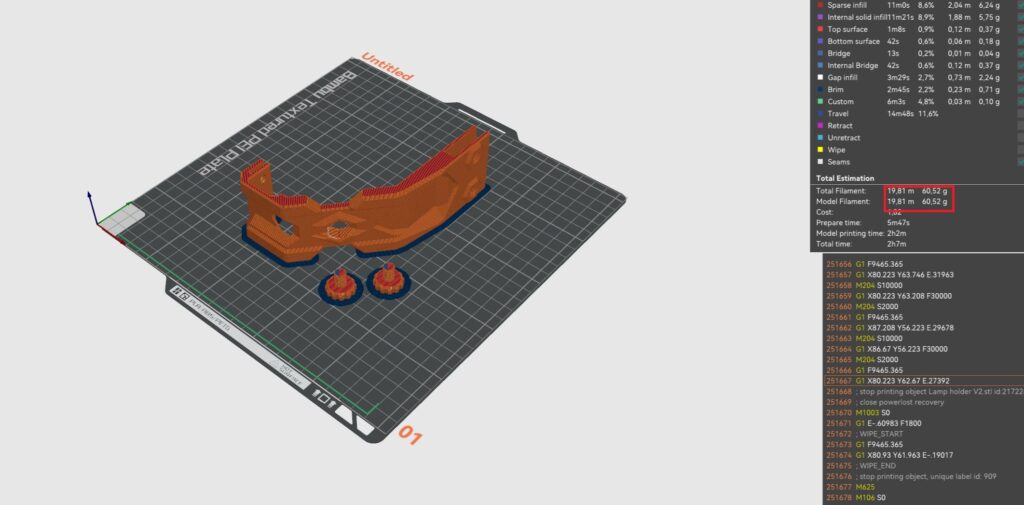
Step 1: 3D Print Your LED Light Holder
✔ 3D Print the LED Holder STL file.
Step 2: Assemble Your LED Lighting System
Now that your 3D printed holder is ready, let’s install the LED light in a few simple steps:
✔ Secure the LED in the Holder:

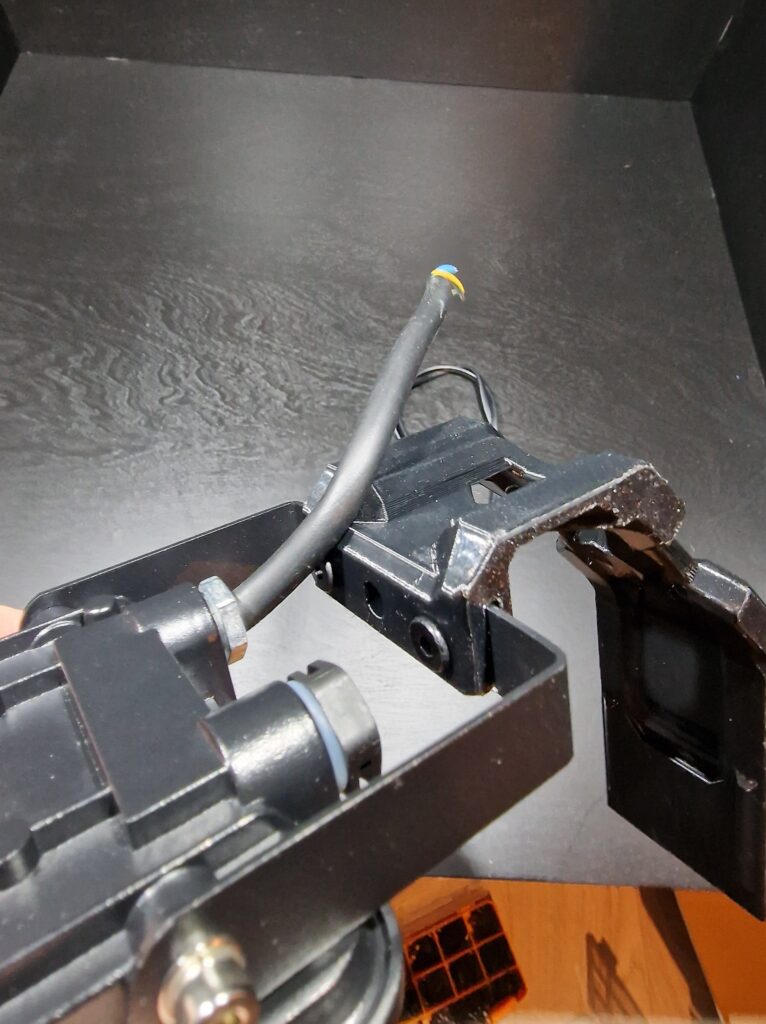
- Slide the LED light into the printed holder, ensuring a firm, stable fit.
- Position the light on the holder in a way, so it provides even illumination across the fish tank or terrarium.
✔ Connect the Wiring:
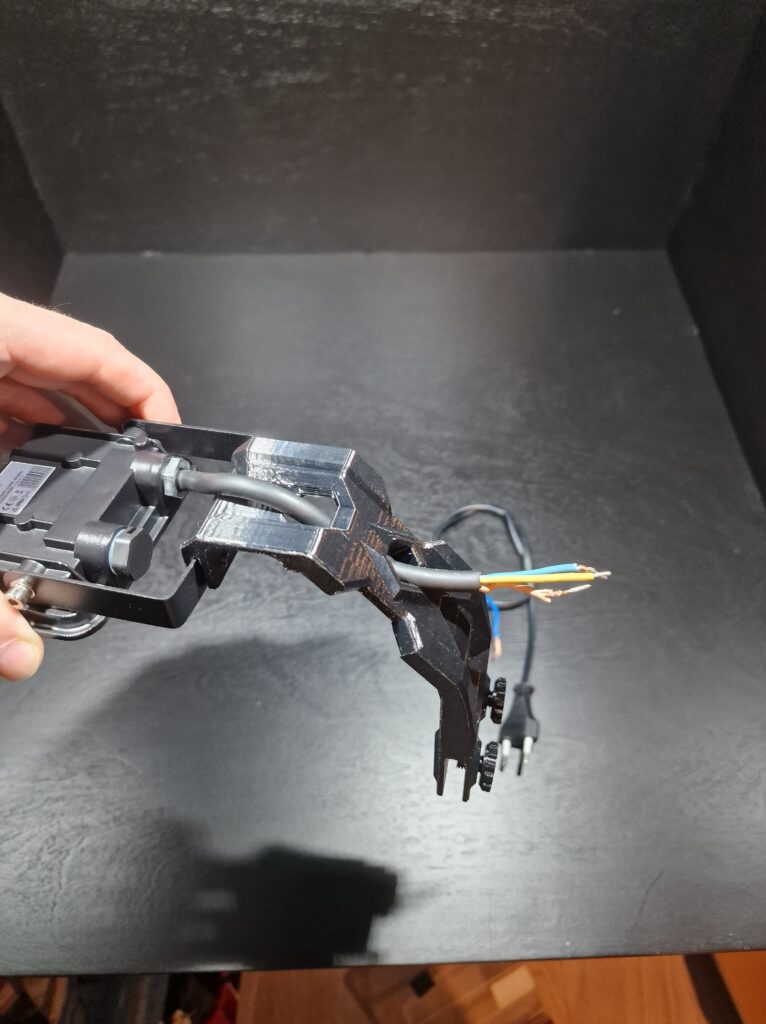
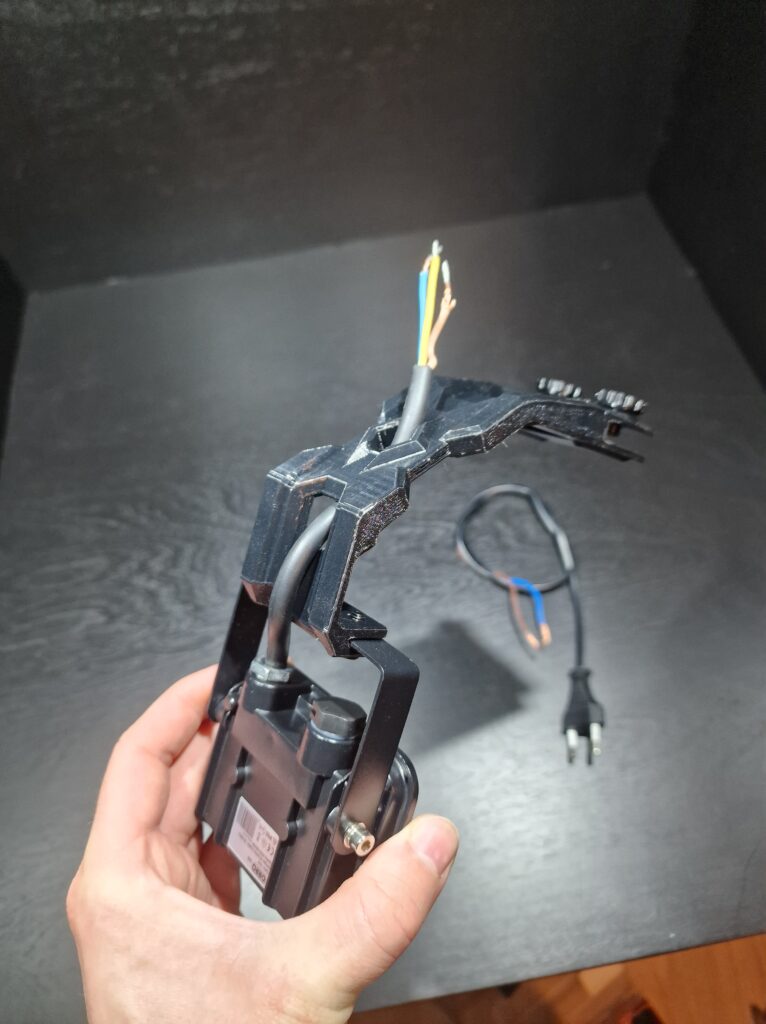
- Guide the wires through the built-in cable channels in the holder.
- If necessary, use a soldering iron to ensure a secure electrical connection.
✔ Mount the LED Light with the holder onto your tank:
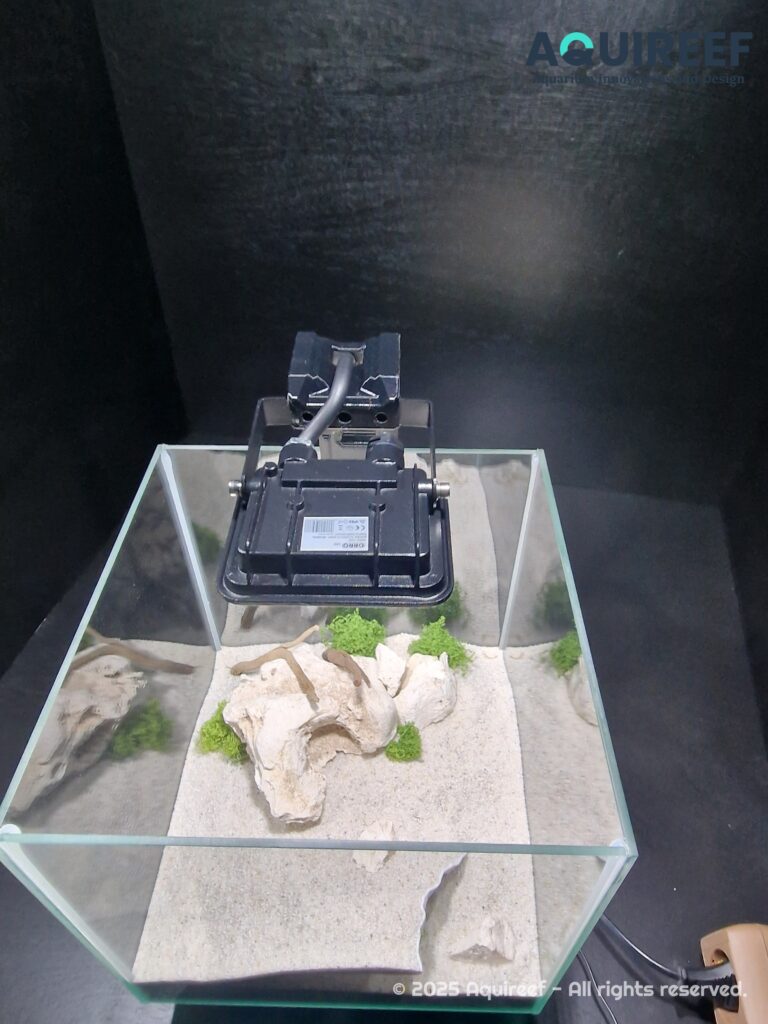
For aquariums:
- Attach the 3D printed holder to the aquarium glass using screws.
- Designed for 4mm to 8mm thickness, my design provides a stable, adjustable fit.
For terrariums:
- Mount the light inside the enclosure and adjust the angle to highlight your tank.
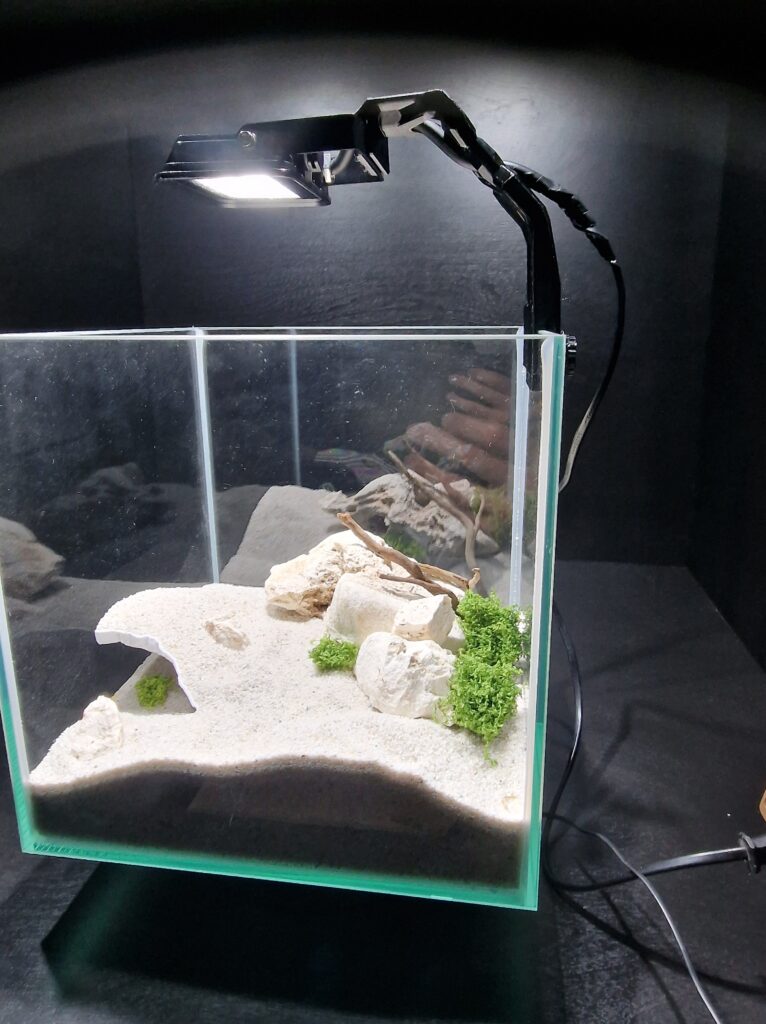
Step 3: Testing and Adjusting
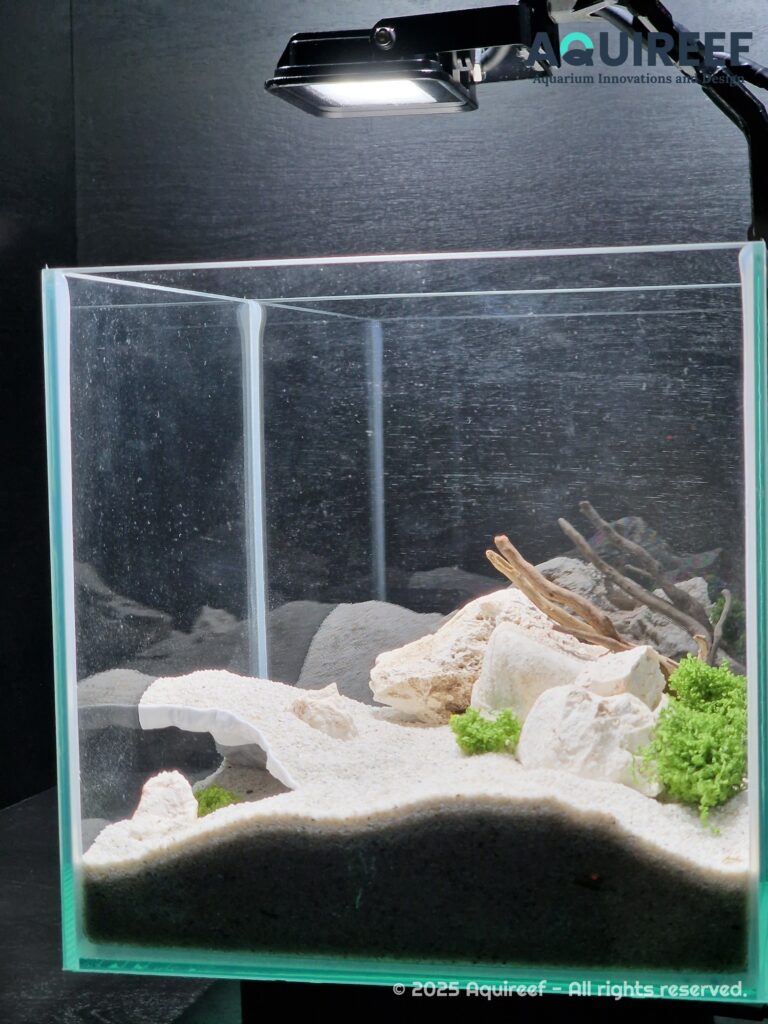
✔ Turn on the LED light and check the coverage.
✔ Fine-tune the angle for even light distribution.
✔ Observe your plants, pet and fish—they should appear vivid and well-lit.
Why This DIY LED Setup is a Game-Changer
💡 Budget-Friendly: A premium lighting setup for just 10$!
💡 Customizable: Design or Modify the 3D LED Light holder file before print to fit your specific tank size and needs.
💡 Optimized for Growth: 6300K daylight spectrum enhances plant health.
💡 Stable & Secure: Designed for easy installation on glass or solid surfaces.
💡 Expandable: Add more LED holders for larger tanks or terrariums.
✨ Found this 3D Print Tutorial interesting?
Check out my other posts for more inspiration and 3D Printing practical Tips!
- 3D Printing Layer Adhesion: Preventing Prints from Breaking Between Layers
- Is 3D Printing Food Safe? Here’s the Real Truth
- 3D Printed Reptile Hides Exposed: Crucial for Welfare or Just Terrarium Decor Hype?
- 3D Print Bed Adhesion — What Works Best To Avoid Failed 3D Print?
- Are Aquarium Caves Really Critical for Fish and Shrimp Health? Does 3D Print Decor make a Difference for your Aquatic Pets?
💬 How did your LED Light Setup Go? I’d love to hear about it! Share your experience and results in the comments below! ⬇️